
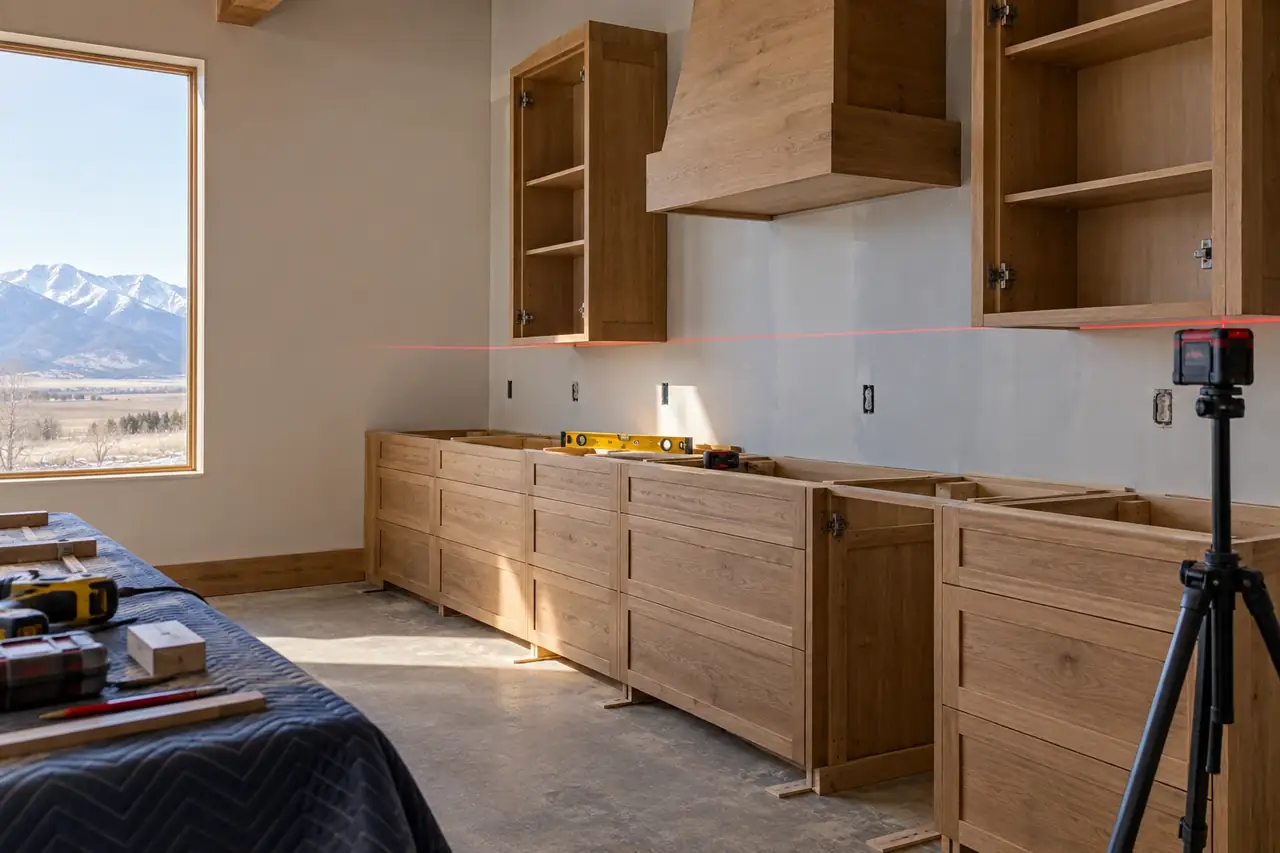
Cabinet Installation in Bozeman, MT | Set to a laser line, fixed to studs and scribed to crooked walls
Our team at Custom Cabinets Bozeman MT installs cabinets the way they were designed to go in: levelled to a laser line, shimmed at every stud, clamped and screwed face to face, and scribed to walls that are never quite straight. The crew that installs is the crew that built them.
Free design consultationTell us about the room. We call back to book a measure.
Cabinet Installation in and around Bozeman MT
A perfect cabinet installed badly looks like a bad cabinet. Doors will not line up, countertops crack, and gaps open along the walls. Installation is where the tolerances we build to in the shop get kept or lost, so we do it ourselves on every job we build.
What a proper install includes
- A laser reference line set from the high point of the floor.
- Boxes shimmed and fixed into studs, never just drywall.
- Face frames or box sides clamped and screwed flush.
- Every door and drawer adjusted before we leave.
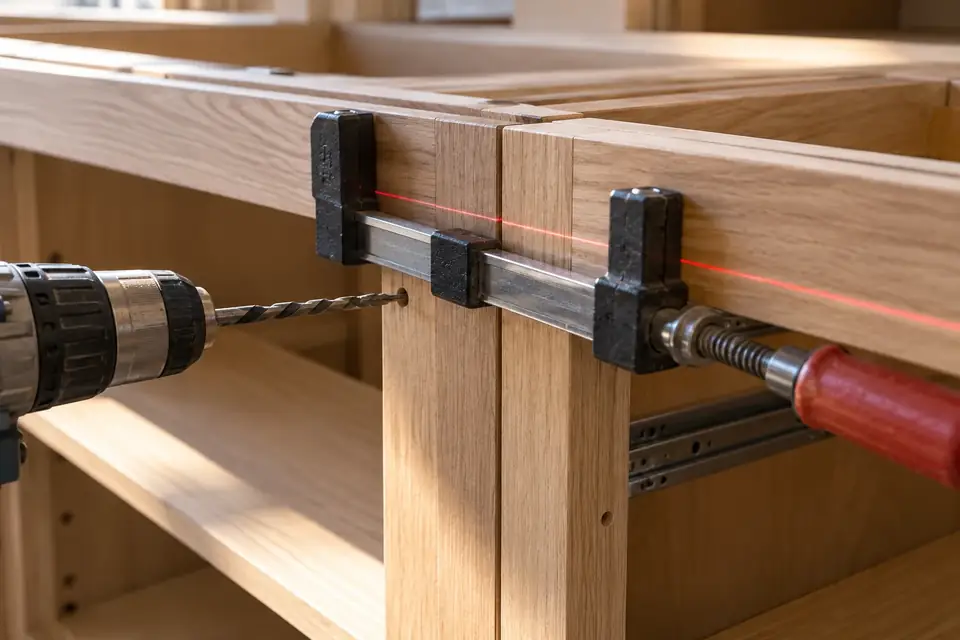
Clamped flush, box to box
Adjacent cabinets have to act as one unit. We clamp neighbouring face frames or box sides so their faces are perfectly flush, drill, and screw them together before fixing the run to the wall. Doing this in the right order keeps the reveals even from one end of the kitchen to the other.
Only once the run is joined and level do we fix it to the studs, with shims behind wherever the wall bows. Screws pulled tight against a hollow wall would twist the box and throw the doors out.
Details installers skip
Countertop support
Stone tops need a flat, level base. We check the run with a straightedge before templating.
Appliance openings
We check dishwasher and range openings against spec before fixing the neighbours.
Toe kicks
Kicks go on last and are scribed to the finished floor.
Protection
Floors and finished faces are covered while we work.
Installation tolerances we hold
- Level
- Base run level to within 1/16 inch over its length
- Face alignment
- Adjacent faces flush with no visible step
- Door reveals
- Even gaps, typically 1/8 inch, adjusted at the hinge
- Fixing
- Every box fixed into framing at top and bottom rails
A rushed install compared with ours
| The usual approach | How we do it |
|---|---|
| Levelled by eye from the floor. | Levelled to a laser line from the highest point of the floor. |
| Screwed through drywall at convenient spots. | Fixed into studs, with blocking where needed. |
| Gaps at walls hidden with caulk. | Scribe rails cut to follow the wall. |
| Doors left for the homeowner to adjust. | Every hinge and runner adjusted on site. |
What goes wrong in installation
| What goes wrong | Why it happens | What we do about it |
|---|---|---|
| Countertop cracks | Base run not level or flat. | Laser line and straightedge check before templating. |
| Doors drift out of line | Boxes twisted by fixing to a bowed wall. | Shims behind every fixing point. |
| Gaps at walls | Stock fillers not scribed. | Scribe rails cut to the wall. |
Install day, step by step
Layout
We mark the laser line, studs and plumbing on the wall.
Set bases
Bases are shimmed, joined and fixed.
Hang uppers
Uppers go up to the line and are joined and fixed.
Trim and adjust
Crown, kicks and panels go on, then every door is tuned.
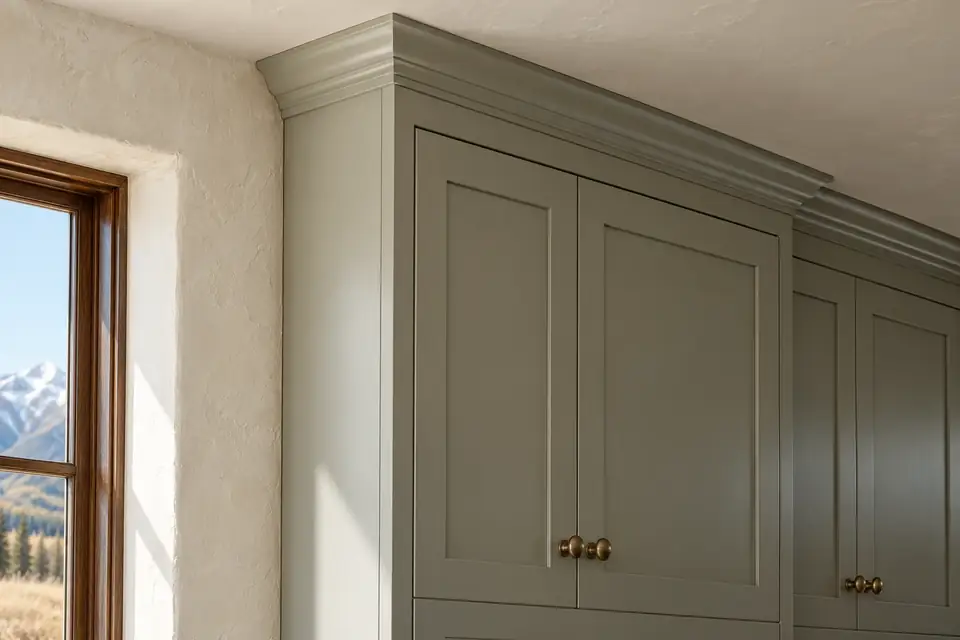
Scribing to real walls
Old plaster, log walls and new drywall all bow and lean. We leave extra material on end panels and fillers, trace the wall profile onto them and cut to the line, so the cabinet meets the wall with no gap to caulk.
Acclimation before installation
Cabinets built in a heated shop and installed in a house still drying out from new drywall and paint can move after install. The Architectural Woodwork Institute asks for at least 72 hours of acclimation with the HVAC running before installation.
We deliver cabinets once the house is closed in and heated, and we will not install into a wet new build. In winter we check that the heat has been on long enough for the space to settle before we start.
Cabinet Installation: terms we use
- Scribe
- Material left long on an end panel or filler that is marked to the exact profile of a wall and cut to fit. It closes the gap where cabinets meet walls that are not straight.
- Shim
- A thin tapered wedge driven behind or under a cabinet to fill a gap and hold it level or plumb. Shims keep a box square when it is fixed to an uneven wall.
- Laser line
- A level reference beam projected across the wall from a self-levelling laser. Every base and upper is set to it, so the run is level regardless of the floor.
Get the room ready for install
- Old cabinets removed, or ask us to do it.
- Plumbing and electrical roughed in to the drawings.
- Heat running for at least a few days.
- A clear path from the door to the room.
Flooring before or after?
We prefer finished floors to go in before cabinets, so the floor runs under the appliances and future changes are easier. If the floor goes in after, we raise the cabinets to allow for it.
What makes installation take longer
Install time depends on the house as much as the cabinets. These three things matter most.
Wall and floor condition
Floors out of level and walls out of plumb need more shimming and scribing.
Access
Upper floors, tight stairs and long carries add time.
Trim detail
Crown, light rails and applied panels take careful fitting.
Installing in mountain and log homes
Log homes settle as the logs dry, sometimes an inch or more per wall height over the first years. Cabinets fixed rigidly to a log wall and to a floor can be crushed or racked as the wall moves. We use slotted fixings and slip joints on log walls so the wall can settle past the cabinets.
Remote builds up Bridger Canyon or near Big Sky add a practical challenge: steep driveways and snow. We schedule deliveries for clear weather, protect cabinets with blankets and plastic, and carry them in rather than leaving them outside.
Questions about cabinet installation
How many days will installers be in my kitchen?
A typical kitchen installs in two to five days, depending on size and trim detail. A vanity or built-in often takes a day. Countertop templating usually happens right after the bases are set, and we return to adjust doors after the tops are in.
Do you install cabinets you did not build?
We focus on installing cabinets we build, because we know how they go together and we stand behind the whole job. For cabinets from another source, call us and we will tell you honestly whether we can help.
Is a permit needed to install cabinets in West Yellowstone?
No building permit is needed for cabinets, which are exempt finish work under the IRC. West Yellowstone runs a residential building program, but electrical and plumbing permits there come from the state Department of Labor and Industry, so any new wiring or plumbing goes through the state.
Should cabinets be installed before or after flooring?
We prefer flooring first so it runs under appliances and the kitchen can change later without patching the floor. If the floor goes in afterwards, we set cabinets high enough to allow for its thickness.
Can cabinets be installed on uneven floors?
Yes. We set a laser line from the highest point of the floor and shim every cabinet up to it. The toe kick is then scribed to the floor so the gap disappears.
What happens if a wall is out of plumb?
We shim behind the cabinets at each fixing point so the boxes stay square, and we scribe the end panels to the wall. The cabinets end up plumb even when the wall is not.
Do I need to empty the kitchen for installation?
Yes, the room should be clear, and nearby rooms protected from dust. We cover floors and walkways, but moving belongings out makes the install faster and safer.
Who connects the plumbing and appliances?
Your licensed plumber and electrician connect sinks, dishwashers, cooktops and lighting. We coordinate timing so they arrive once the cabinets are set and before countertops go in, where needed.
How much wait between cabinet install and countertops?
Stone fabricators template once the bases are fixed and level, then usually need a week or more to cut and install. We leave the kitchen ready for templating and return after the tops are installed to adjust doors.
Work that pairs with cabinet installation
Installation is the last step of a longer chain. These services lead up to it or follow it.
- Cabinet Replacement
- Custom Cabinet Fabrication
- Cabinet Hardware Installation
- Kitchen Cabinets
- Cabinet Measuring & Consultation
- Custom Cabinet Design
Installed by the people who built themLaser-levelled, stud-fixed and scribed installs by the crew that built the cabinets.
Call 406-521-7523